
This blog will explain how to install and secure a Redis installation on an AWS Ubuntu 16.04 machine. Redis is an open source, in-memory, key-value based datastore structure. It is used extensively as a local cache, database, and as broker for communication between machines. Besides installation, this blog will also show methods to secure your Redis installation to restrict unauthorized access.
Launch EC2 machine for Redis
The first step to login to your account. If you don’t have a AWS login, you can signup for one.
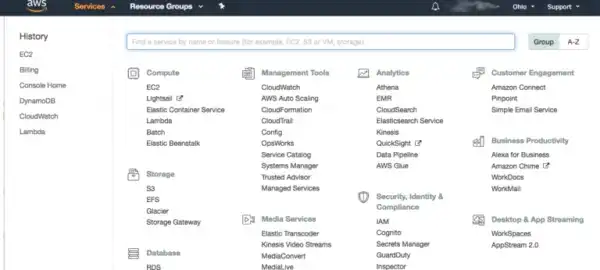
Step 1: Click Services and search for EC2

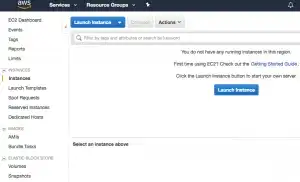
Step 2: Click on Instance and then Launch Instance.

Step 3: Choose your AMI. Here choose Ubuntu 16.


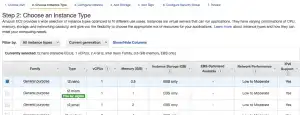
Step 4: Choose your instance. Here we choose the smallest available machine a t2.nano

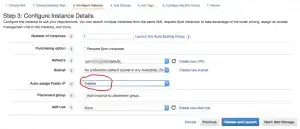
Step 5: Next comes configure instance. Here we choose to Disable Auto public IP. This means by default your machine will not be accessible from the internet. It can be accessed only from the local machine or your VPC.

Step 6: You have add storage to this instance next. Add 8GB
You can add tags if needed.
Step 7: Security Group – With security groups you can restrict incoming access to your server. Name this security group redis and grant only SSH access on port 22 from your current machine.


Go Ahead and launch the machine
You now have a EC2 machine running Ubuntu, without Redis and which disconnected from the internet. It’s not of much use now, till we go our next step
Install Redis
We now have to install Redis on this machine. All the software is on the internet, however out machine does not have a public IP and is not connected to the internet. We will first assign an elastic IP address to this machine

We have now connected the machine to the internet, which will let us download Redis on it.
- Install all dependancies
sudo apt-get update && sudo apt-get upgrade sudo apt install make gcc libc6-dev tcl
- The latest code can be downloaded, installed and tested with the commands below. On successful execution of the commands your Redis installation is ready for use.
wget http://download.redis.io/redis-stable.tar.gz tar xvzf redis-stable.tar.gz cd redis-stable sudo make install make test
- Redis is now ready to run on your machine. You can start the Redis by typing
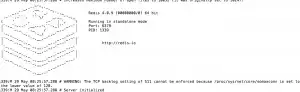
redis-server
The output will look something like this.

We now have Redis working. To make Redis more robust we should make a service. A very detailed blog on this can be found here. Follow the section from ‘Configure Redis’.
To make the this server more robust, you must add some swap memory. I would recommend at least 2 times RAM as swap. For eg. if you use a 1G machine, your swap memory should be 2G at least. This is strongly recommended and AWS EC2 machines have zero swap by default.
Your can make your Redis setup more robust by adding enabling clustering. On AWS a single EC2 machine may go down for a variety of reasons. By enabling a cluster you can ensure that your setup stays stable. Note make sure all instances in the cluster have no public IP addresses and are accessible from the internet.
Secure from unauthorized access
You now have a stable Redis server and we will take a few more steps to secure it. We have looked at security groups earlier. Now we will use it to secure our Redis server.
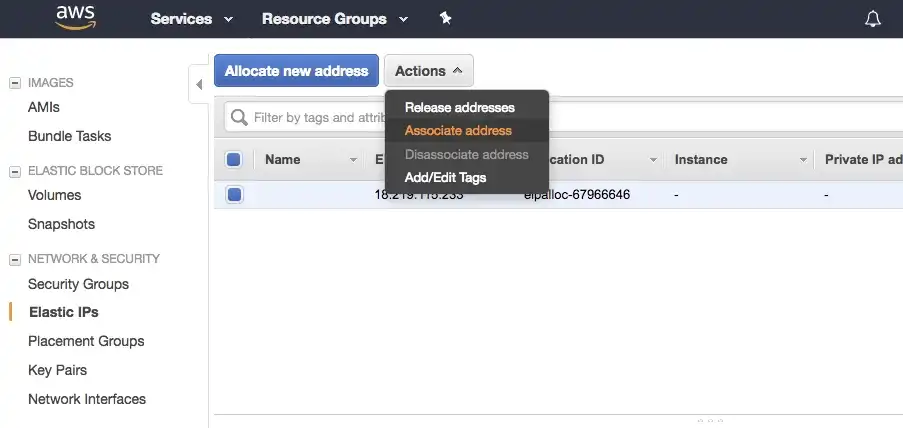
- Remove the elastic IP from the machine. After disassociating the elastic IP address, definitely release the elastic IP. Amazon charges significantly for unused elastic IP addresses. So if you don’t want an huge bill from AWS, release all unused elastic IP addresses. Now your Redis machine does not have a public IP address. It only has an private IP address, which means that it is accessible only from your VPC.
- Redis runs on port 6379, so edit the security group of your Redis machine and add the IP addresses or security groups of the servers that would use Redis.
- In case you have deployed a cluster, edit the security groups to permit only IP addresses of required instances to access the Redis instances.
The steps above will ensure that no other machine or person can access your Redis server. You now have a working, robust and secure Redis to power your application.