
In this blog I will go over how to engineer a license plate detection system. The goal of the plate detection system is to obtain a plate number from a photo of a car or other motor vehicle. I will go over my own custom implementation of license plate detection. Hopefully this gives you a rubric so that you can try to create your own implementation of a license plate reader. And afterwards, I’ll discuss some popular open source license plate detection systems.
The license plate detection system has three steps
- Segment the license plate from the photo
- Segment and order the characters from the license plate
- Classify the character, using Optical Character Recognition (OCR)
Segment the License Plate
We will try to get all connected components within the picture first, from there we can try to extrapolate the license plate object out of the distinct objects found in the picture. We will do this by grey scaling the original photo, and then try to label distinct objects within the photo using the skimage package’s measure.label. This will label all the distinct objects within a matrix of the picture’s pixels, using a connected component labeling algorithm. Doing so, will return a matrix with labels for all distinct objects.

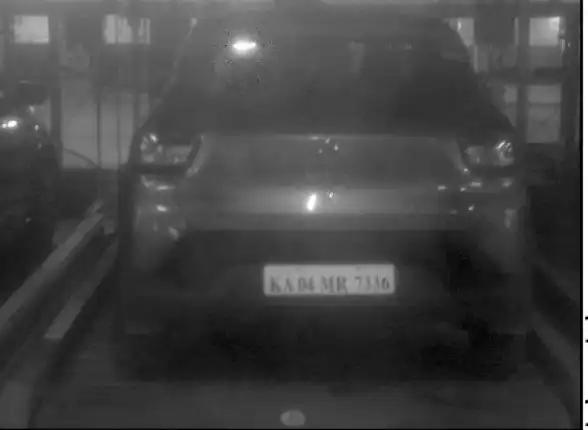
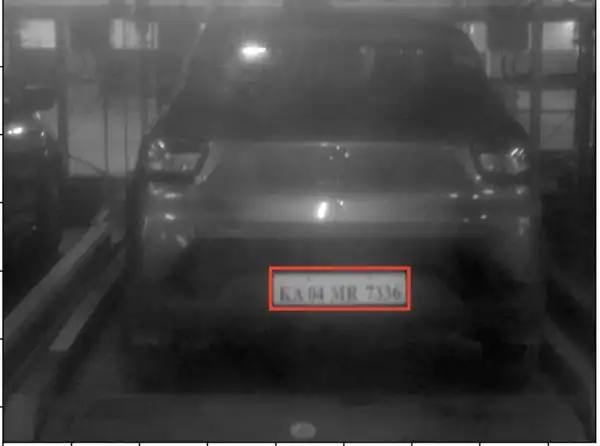
To obtain the license plate from the objects we need to consider the properties of a license plate. License plates are usually rectangular in shape that is significantly wider than it is tall. From a picture standpoint, a license plate width wise is very unlikely to take up more than 25% of the width of the entire picture and a license plate height wise is unlikely to take up more than 15% of the entire picture. Using this rubric we can filter out the vast majority of objects to get the license plate from the photo.

Segment Characters from License Plate
The next step is similar to the previous step in that we are searching for connected components on the license plate. We again gray scale the picture so that we can evaluate which components are connected, so that we can run the connected components algorithm (measure.label from the skimage package).

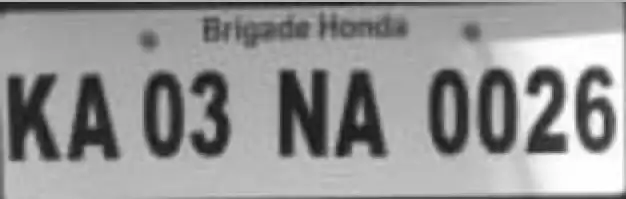
Now like previously, we can label the connected components within the license plate. We can see that we have identified extraneous objects, such as the bolts of the and the automaker’s name. Similar to before, we have to filter the actual characters (letters and numbers) from all the connected components. This time I used the overall area character covered on the license plate as the filter


Now that we’ve identified the characters, I sort them using the bounding box coordinates that encloses each character (see the sorting function in segmentation), using the smallest value at the left top-corner of the bounding box for our metric.
Character Recognition
Now that we’ve segmented the license plate, we’ll try to classify the segmented characters from the photo as one of the 36 possible alphanumerics (26 letters and ten digits). This process is known as Optical Character Recognition (OCR). Once we classify each character on the license plate, we will have the full license plate number for ourselves.
We will use a Convolutional Neural Network to classify the characters, as these work well for image recognition problems as they can recognize low level features of objects well. And rather than building out an entire model from scratch we’ll be using a pre-existing model and then fine tune it to our character classification problem.
This process is known as transfer learning where we use a model that was trained on one knowledge area/dataset and then applied to another dataset/knowledge area. In transfer learning the last layer of the original model is dropped and retrained, while the previous layers keep their original weights. This is done when the model we transferred from was trained on a much larger dataset than the one that we are looking to transfer to. If you would like more information about this you can see an explanation from Andrew Ng in the video below.

In this case we’ll use the inception model as our base. Inception was trained with the ILSVRC2014 dataset,which contains over 500,000 images with 200 different classes. We will be transferring our model’s learning from the ILSVRC2014 dataset to the Chars47K dataset (you can find the dataset here: http://www.ee.surrey.ac.uk/CVSSP/demos/chars74k/).
Now that we’ve talked about the theory, we can talk about how to put this into practice. We’ll train our model on a Google Cloud instance, so that we can take advantage of GPUs. First, create a free tier google cloud account (you’ll be allotted $300 worth of free Google cloud credit to use on paid services). Log into the google cloud console and go to IAM & Admin > Quotas, and then switch the metric to the GPU (all regions). Once you’ve done this make a request to change the quota from 0 to 1, it will take a couple hours for this change to take place. Now that you have done this you now ready to launch a Google Cloud instance.
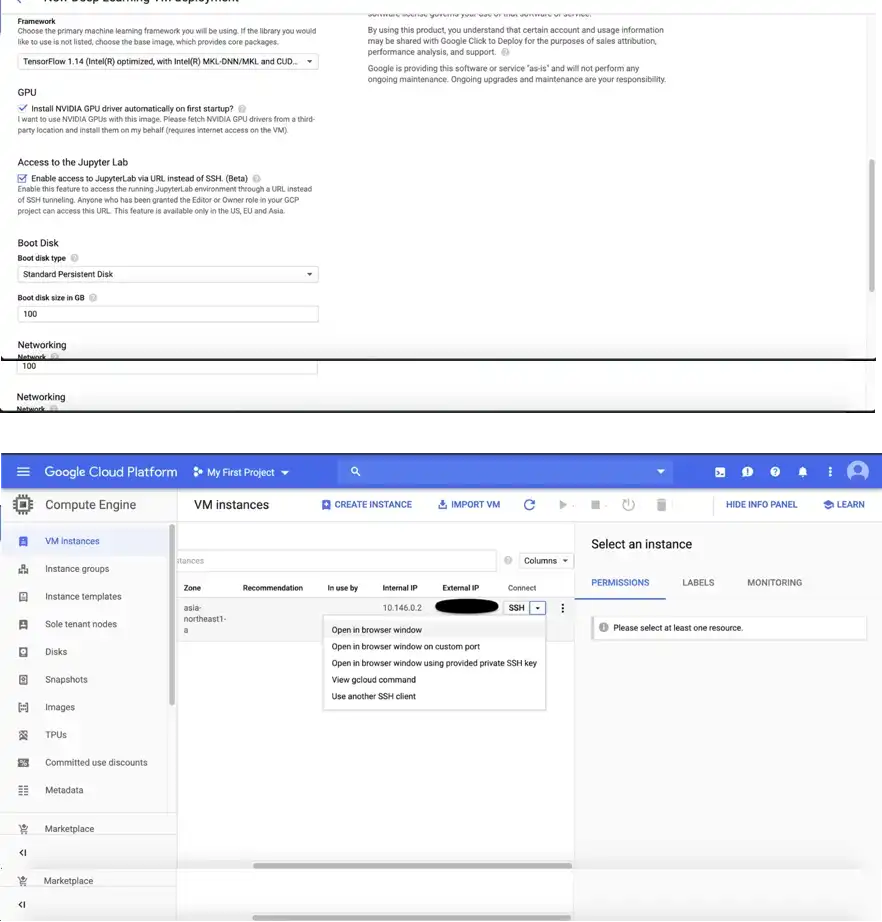
We’ll be launching a Deep Learning virtual machine. Click the “Launch on Compute Engine” button. Check the two boxes under the sections “GPU” and “Access to the Jupyter Lab”, and then click “Deploy”. Wait half an hour for the GPU drivers to be installed on the instance and then ssh into the instance (go to compute engine > VM Instances) to run our code.

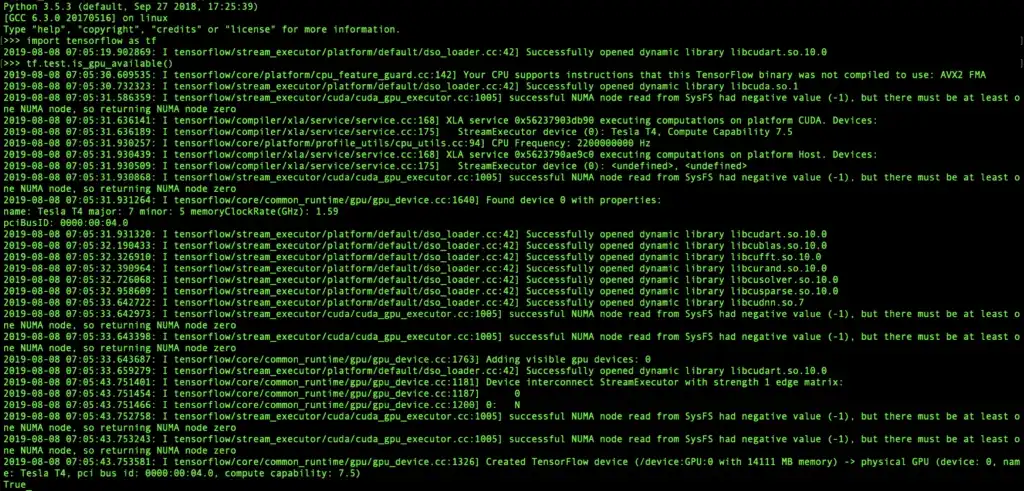
You can test if the gpu is enabled in Tensorflow. SSH into the virtual machine and then open python. Then write the following code. If the installation is successful you will see “True”.
import tensorflow as tf tf.test.is_gpu_available()
On the google cloud server
jupyter notebook –no-browser –port=8889
On your system run the following command. Your remote host name will be the external ip address of your machine. You can find it on the vm instances page.
ssh -N -f -L localhost:8888:localhost:8889 username@your_remote_host_name -i path_to_your_ssh_file
Now open a web browser of your choice and go to the following address
localhost:8888
You can now run the notebook “digit recognition.ipynb,” like you normally would locally. You can input characters segmented from the license plate here and get your output.
Open Source Implementations
There are a couple of open source implementations that are worth a look for you to try for fun.
Tesseract
Tesseract is a command line OCR tool. It will read characters from any photo. We can read a license plate number and then write that to a text file. If you are running Mac OSX, you can install tesseract on your computer using homebrew.
brew install tesseract
Below is the command to run tesseract and an example
tesseract your_image_file output
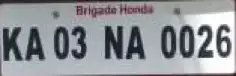
Sample Photo


OpenALPR
You can see the instructions for installing openalpr here. While tesseract is used just for OCR, OpenAlpr will segment the license plate from the photo itself and do the OCR for you. If you run a picture of a motor vehicle with OpenAlpr, it will return what it believes is the license plate number along with the confidence of the prediction. A cool feature OpenAlpr uses is that you can pass a country code to it, which greatly helps its ability to read license plates. Here is an example.

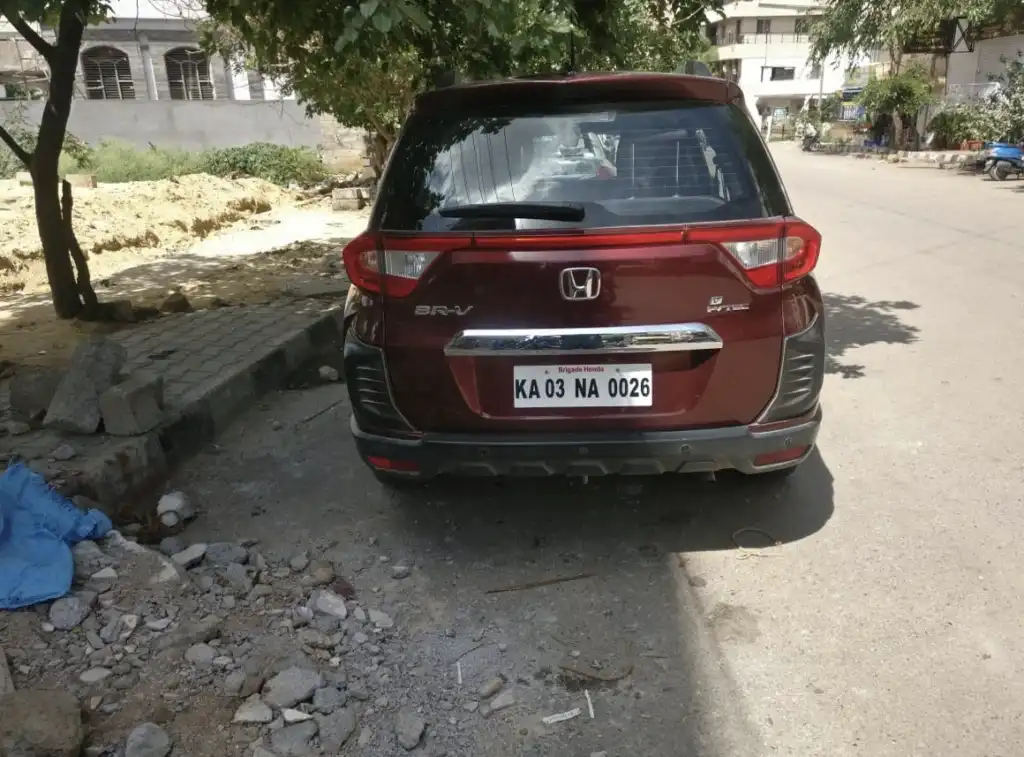

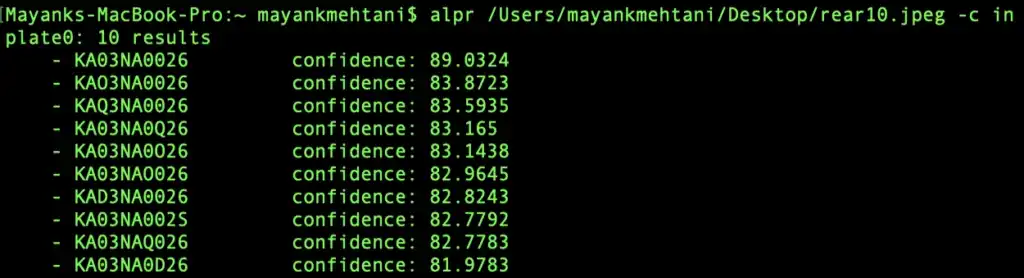
Plate Recognizer
This is a tool similar to OpenAlpr that you can try here, that enables you to read a picture in and outputs the license plate number using the command line. They have an API, which has 2,500 free API requests available a month for your own use, if you would like to experiment with it.