
In this blog we will show how to setup an FTP on AWS machine. They heydays of FTP (File Transfer Protocol) maybe over and it is not as popular as it used to be. I personally have not used FTP for several years. Several professional IP and CCTV cameras support FTP. It is an easy way to setup a central repository for all your CCTV cameras online. All the CCTV cameras can upload the camera feed or snapshots to an FTP server. This server can serve as a repository for one or more cameras. We will now look at how to setup FTP on an AWS EC2 Ubuntu machine. AWS provides a service called SFTP, which is too expensive. Setting up an FTP server on an EC2 machine is a much better alternative.
Step 1: Create an EC2 machine with Ubuntu 16.04 AMI


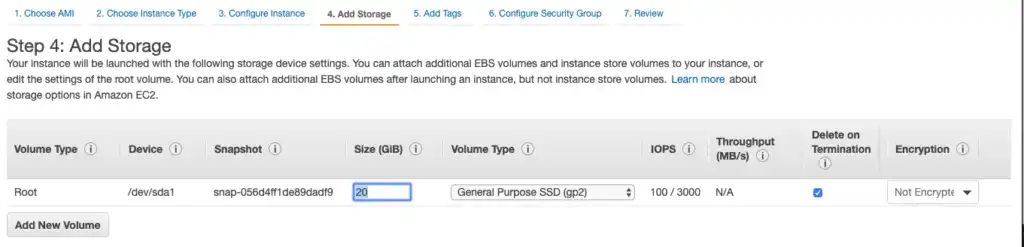
Log in to your AWS account and launch an Ubuntu 16.04 machine. You can use the smallest machine to begin with. The storage will be a function of the amount of data you want to store. We will use a 20 GB machine in the demo.

Step 2: Security groups


Expose ports 20-21 for FTP access and ports 1024-1048 as passive ports.
Step 3: Installation of vsftpd
VSFTPD or very secure file transfer protocol deamon is an open source FTP server for unix based systems.
sudo apt-get update
sudo apt-get install vsftpd
Step 4: Updates to the config file
Open the vsftpd file as super user for editing
sudo vim /etc/vsftpd.conf
Make the following edits
- Enable listening for IPV4
listen=YES
#listen_ipv6=YES
- Disable anonymous access
anonymous_enable=no
- Permit any form of FTP write command
write_enable=YES
- Make sure PORT transfer connections originate from port 20 (ftp-data) by uncommenting this line
connect_from_port_20=YES
- Add the following lines at the end of file. These lines are required to enable passive access, which means a client can now initiate a connection to the server. The public IP address of the server is also required here.
- The final lines specify the file valid user names
pasv_enable=YES
pasv_min_port=1024
pasv_max_port=1048
pasv_address=54.165.49.1
port_enable=YES
userlist_enable=YES
userlist_file=/etc/vsftpd.userlist
userlist_deny=NO
Step 5: Add user and setup directory
We will now create a user and prepare the directory for access. We will call the user aloka for now, when prompted add a password and you can just press enter for the other prompts, letting the defaults continue.
sudo adduser aloka
Create the user file list and the new user
echo "aloka" | sudo tee -a /etc/vsftpd.userlist
Restart FTP service so that the new configuration is activated
sudo service vsftpd start
Your FTP service is now ready for use. You can connect to your FTP server using the command with your public IP address. The default directory will the home of the user, which in this case is /home/aloka
ftp -p <public_ip>
Use the credentials created in step 5 to access the FTP service.
Step 6 Congratulations
Your FTP service is now up and ready to use.