
In this blog we will setup a Generic CCTV camera supported by XMeye. I will focus on a certain CCTV camera of Chinese make. I will tell you how to open it, add an SD card, physically mount it. I will also tell you how to configure the CCTV camera with a desktop application to enable remote streaming on the vendor app. We will also see how to setup and view RTSP streams from this camera.
The CCTV
The CCTV I chose is a Sunivision AP-B134-20WPN. Its an 2 MP, H264 encoding, IP67 camera with night vision. It has both and LAN and WiFi support. The camera has SD card support for recording locally. I will give you a a little background on this camera which will be true to several such cameras. The hardware module and all supporting software are made by a company called Hangzhou Xiongmai Co Pvt. Ltd. Xiongmai provides the hardware, configuration tools, apps for remote viewing, P2P cloud services to a bunch of manufacturers of the cameras. A small list of CCTV manufacturers can be found here.


To configure the camera we will have to connect to it the LAN and access it from a local laptop or PC. There are programs to configure/access the camera via PC and mobile.
Configuration Tool to Setup CCTV camera with XMeye
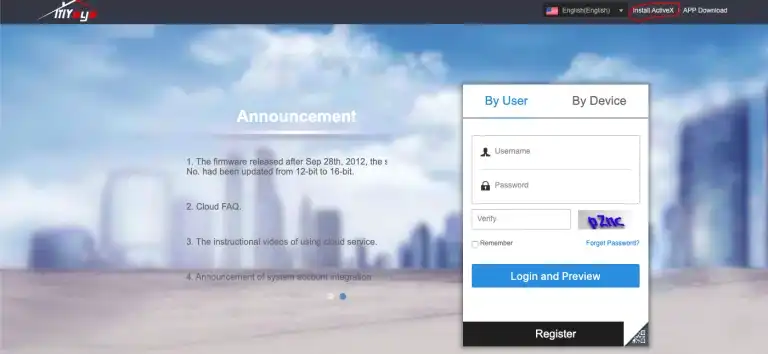
The configuration tool is an Internet Explorer extension called ActiveX. Please note this tool works only with Internet Explorer. ActiveX can be found on the XMeye webpage. After downloading and installation you can will be able to configure any XMeye supported camera using Internet Explorer.

Connecting camera and starting Config tool
- First login to your router. Typically your router can be accessed via 192.168.1.1. Login in with your admin credentials. Look at the devices connected to your router. Currently there is no camera on this list
- Now power the camera. Connect it to the router with a LAN cable. The camera is now connected to the LAN and will be visible of the connected device list
- Note the local IP address of the camera. It will look like 192.168.1.<???>
- Open Internet Explorer and type in the internal IP address of the camera.
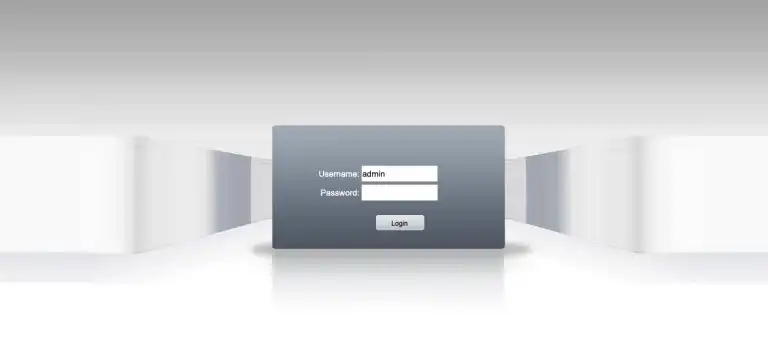
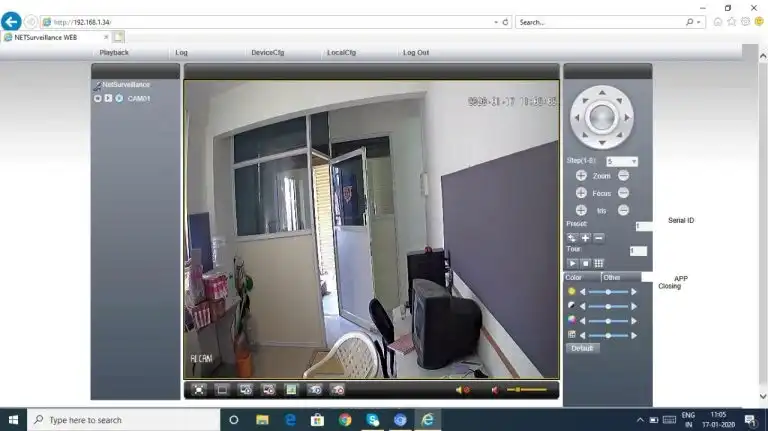
- If you have installed the ActiveX NetSurveillance extension you will get an admin panel as seen in the figure below. By default there is no password for admin. You can continue to login

Setting up Wifi
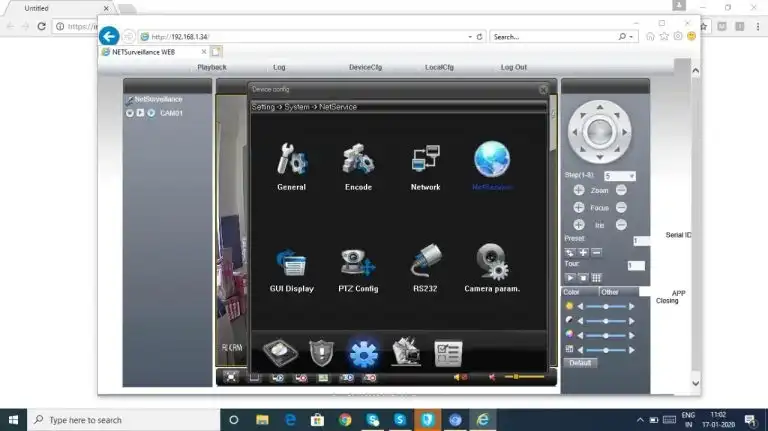
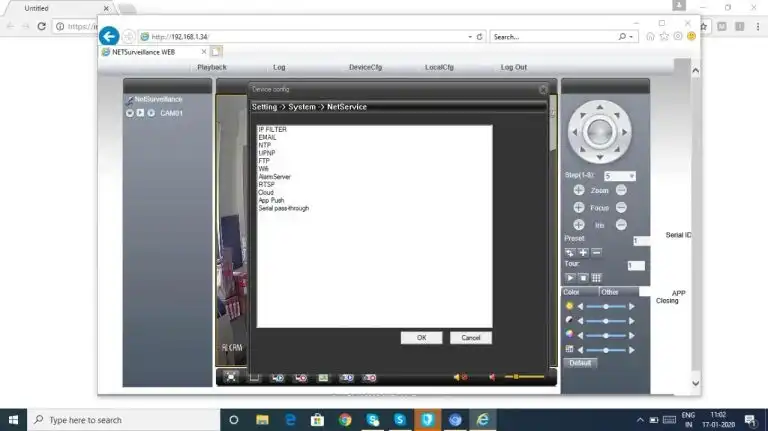
We have now setup a camera which is accessible on the LAN. To enable WiFi, we will configure the camera with the Wifi credentials. To do this, click of Device Cfg->Setting->NetService. The reference pictures are below

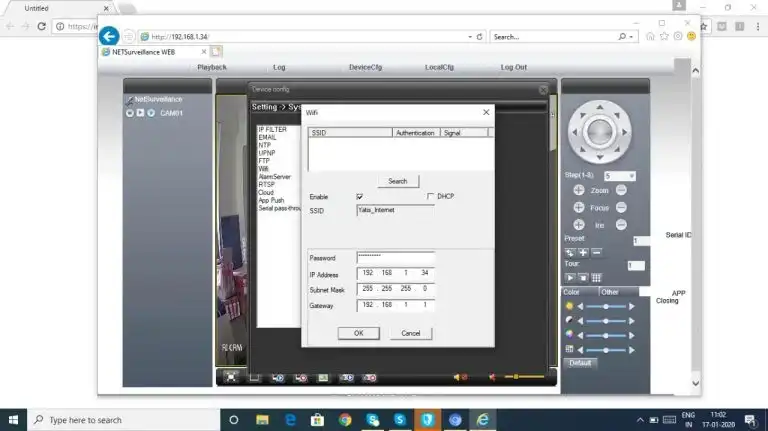
The camera is now setup to work on Wifi and LAN. You can access the camera feed on any Windows computer using Internet Explorer and the XMeye NetSurveillance extension.
Remote Viewing of the CCTV feed with the XMeye App
Most generic CCTV cameras support remote viewing of the CCTV feed using a P2P app. P2P means that the app on your phone will connect directly to the camera feed. The central web servers to enable this is also by the XMeye tool set. In this blog we will not focus on details of how this works. The app is called XMeye and it can be downloaded from the Play Store directly. If you are a first time user, use the register link. It is an easy process, which also requires you to verify your email address.
After you have logged into your app you will have need to link the app with the camera. This linking is done by using a serial number unique to your camera. To identify the serial number of your camera, go the NetSurveillance tool Setting->Info->Version and note the Serial ID.
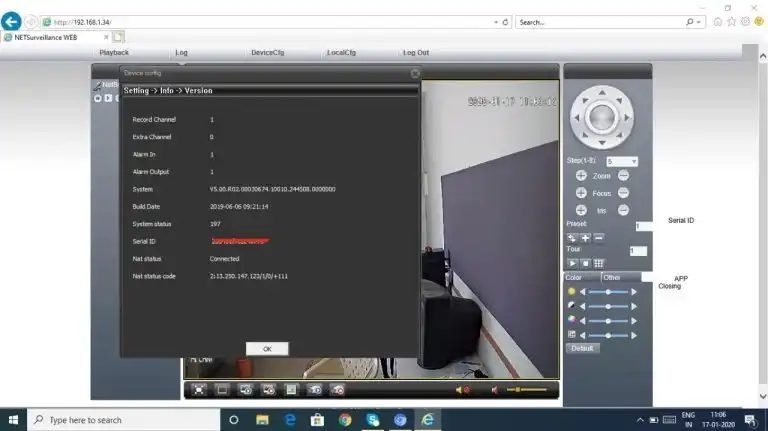

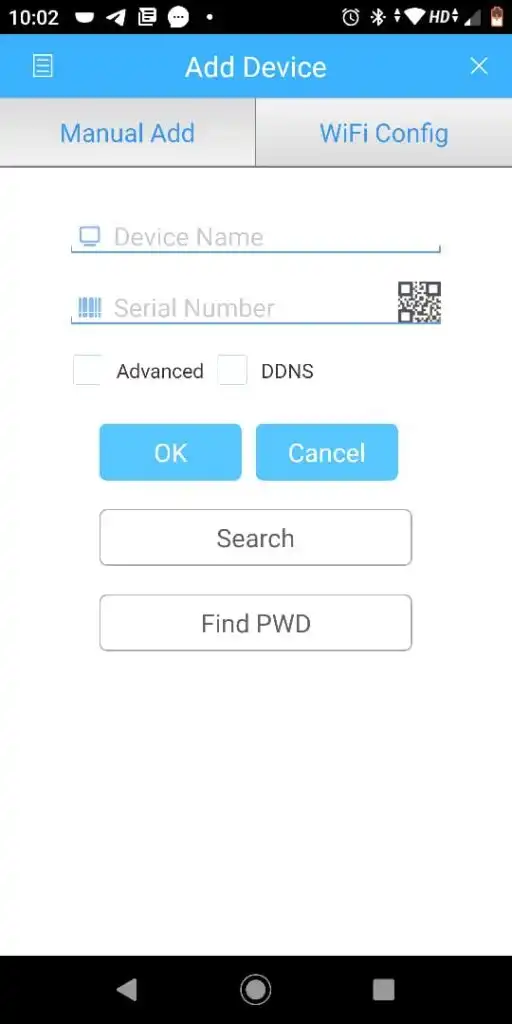
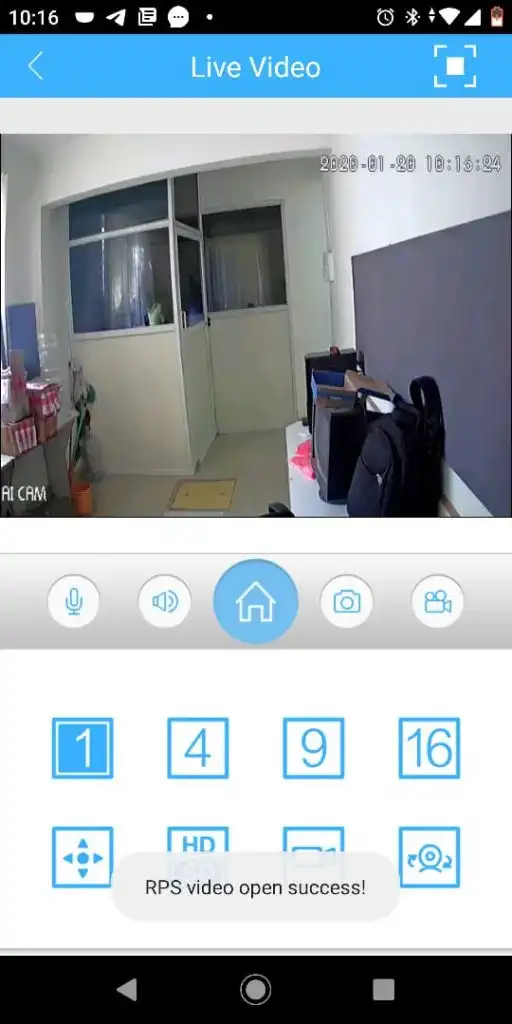
The serial ID / Number has to be entered in the app. Also name the camera for your own convenience, so you would know which camera you are looking at. You can now see the camera feed on your app
Accessing the RTSP feed of the camera
This camera supports RTSP, which how you can access the camera feed on VLC and more importantly for us with python. Accessing the RTSP enables us to do real time image processing on the video feed, which we will need in most of our future blogs. RTSP can be enabled with the NetSurveillance tools. Go to Settings->System->NetService and click of RTSP. After enabling RTSP, you can access the feed of the camera on port 554 locally using the following link
rtsp://<IP address>:554/user=admin&password=&channel=1&stream=0.sdp
Enter the actual local IP address of your camera. This link can be accessed using VLC player File->Open Network. Insert the link and you will see the live feed from the camera.
View from the SD Card
Video feed is saved in the SD card, in a proprietary format. Normal video software like VLC , QuickTime etc. will not be able to detect nor play video from the SD card. This video information can be read directly from the SD card, with a special SD card reading software. The link to download the tool is available here. This page is in Chinese. You can use Chrome’s translator to view it in English. Click on download link and install on a Windows PC. Insert the SD card in the PC and start the player.
Recommendations for Security
By default these cameras don’t have a password for the admin account. This is a major security hazard which has been exploited previously. I would strongly recommend you add a password to every internet enabled camera, to avoid malicious usage. The password can be changed from the NetSurveillance tools. On adding a password the RTSP URL will change. For e.g. if your password is aloka the URL will look like
rtsp://<IP address>:554/user=admin&password=&channel=1&stream=0.sdp

